How to make a phone photo meet exam photo rules
By Khushal · · Updated · 4 min read
Exam forms are strict about photos, and the rules are different for every exam. A phone is enough, as long as you take the photo with the rules in mind and resize it properly afterwards.
Read the notification first
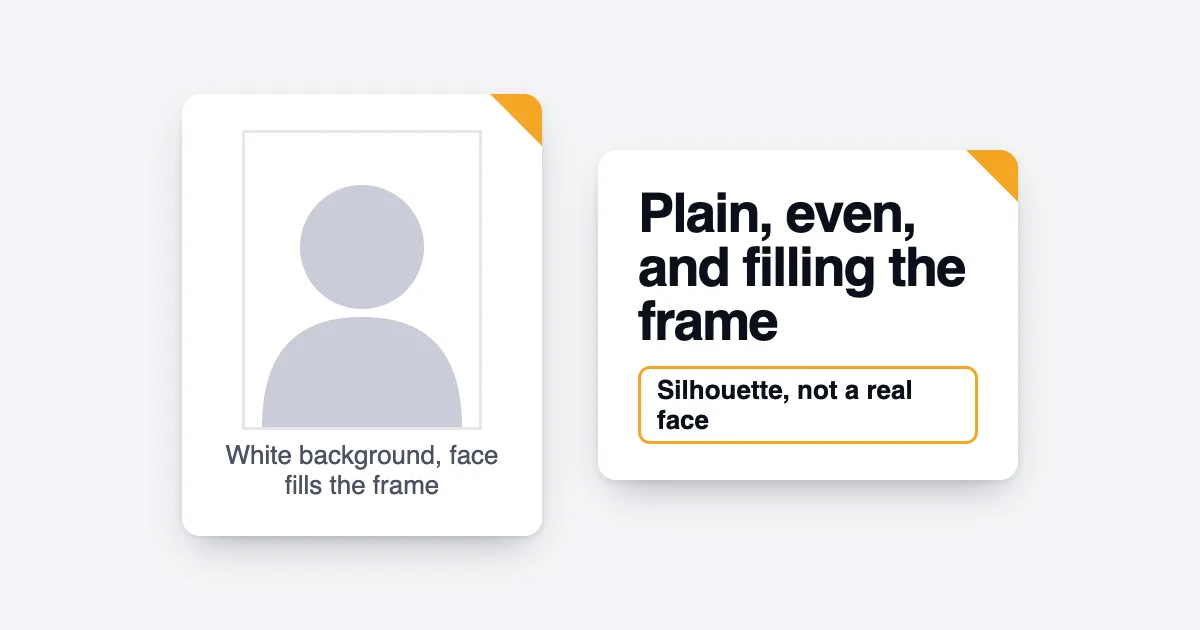
Before you take anything, find the photo section of the official notification and write down four things: the width and height, the file size range in KB, the format, and anything specific such as the background colour or whether glasses are allowed. These come from the notification for your exam and your year. Do not rely on last year's values or on a number someone posted in a group.
Three examples show how different the rules can be:
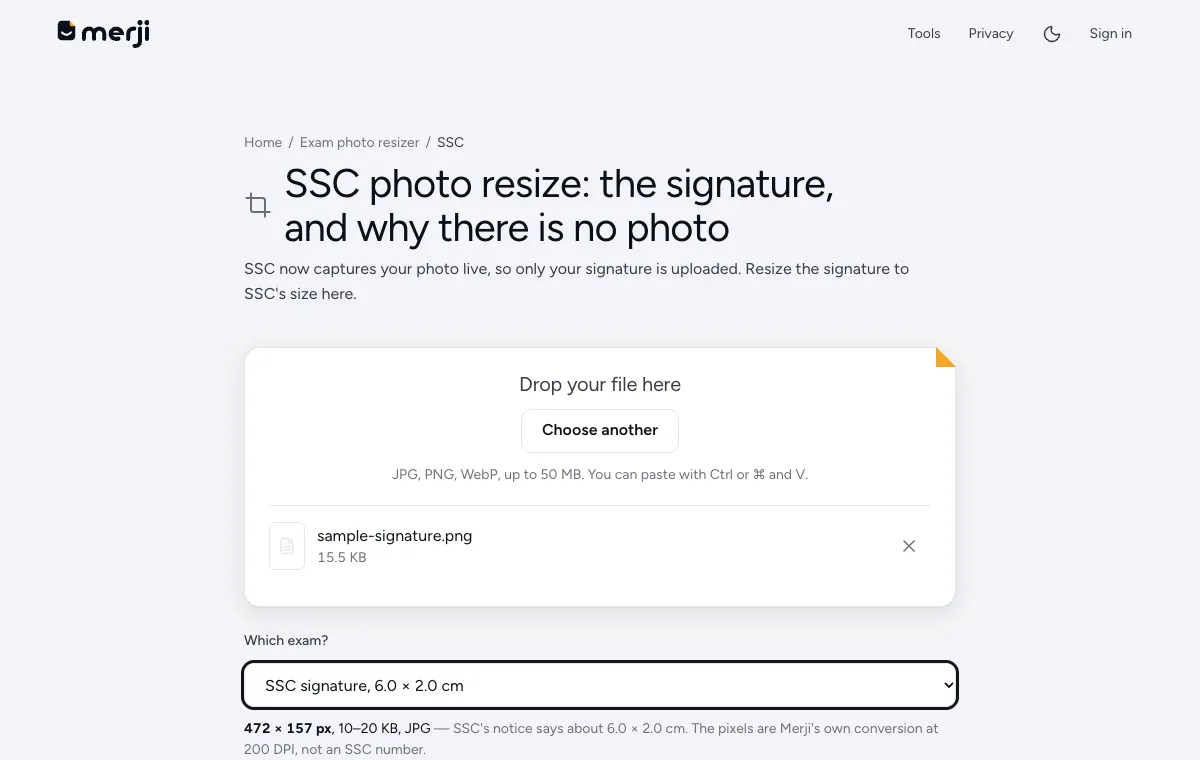
- SSC captures the photo live during the application, so there is no photo file to prepare. Only the signature is uploaded: see SSC photo resize.
- NEET (UG) 2026 asks for a photograph "between 10 kb to 200 kb" with "80% face (without mask) visible including ears against white background": see NEET photo size.
- UPSC wants JPG files of at least 20 KB, between 350 and 1000 pixels on each side: see UPSC photo size.
Take the photo
- Light. Face a window in daylight. Light from the front is even; a light behind you turns your face dark, and a ceiling light puts shadows under your eyes.
- Background. Stand about an arm's length in front of a plain wall in the colour the notification asks for. Standing away from the wall keeps your shadow off it.
- Distance. Ask someone to hold the phone at your eye level, about a metre away, using the back camera. Too close and your face looks stretched.
- Framing. Head and the top of the shoulders, looking straight at the camera, with some space above the head. Leave room around you: it is easy to crop later and impossible to add what was cut off.
- Take several. Pick the sharpest one on a bigger screen, not on the phone's preview.
Crop to the right shape
Crop so your face is centred and fills most of the frame, in the same proportions as the required width and height. Stretching a photo to fit makes it look wrong and can get it rejected.
Hit the dimensions and the KB together
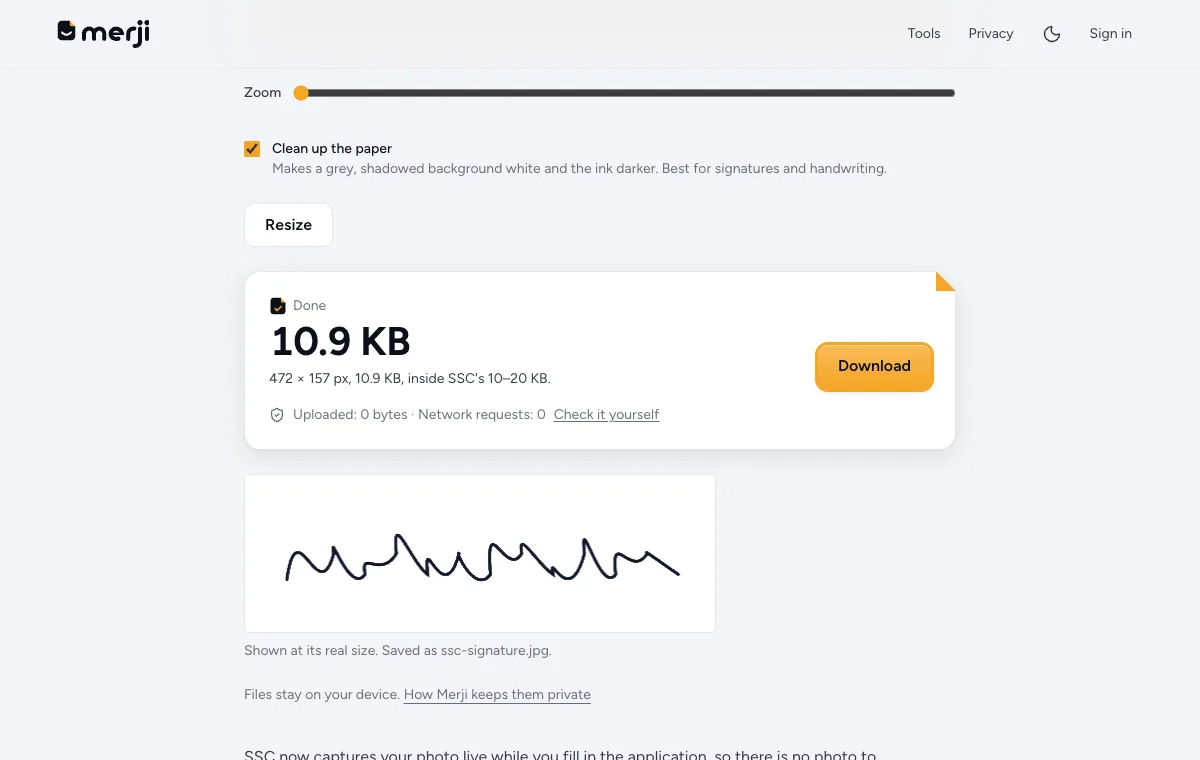
This is where most people get stuck: resize to the right pixels and the file is too big; compress it and the pixels change. Do both in one step. The photo and signature resize page takes the size and KB range and produces a file that meets both, on your own device.
The signature
Sign with a dark pen on plain white paper, photograph it flat in good light with no shadow across it, and crop close to the signature. It has its own dimensions and KB range, separate from the photo's.
Why photos get rejected
- The file is over, or under, the allowed size.
- The width and height are not what the form asked for.
- The face is too small, off-centre, or partly cut off.
- The background is patterned, shadowed, or the wrong colour.
- The photo is blurry or too dark.
- The photo and signature were uploaded into each other's slots.
- A required name or date is missing from the photo.
If the form shows an error message, Fix for a portal can read it and adjust the file to match. Then open the final photo once more before you submit: it should look like you, clearly, on a plain background.
Do it now
Set the exact width, height and KB for your photo and signature.
Questions
Can I use a selfie?
It is better not to. A front camera held at arm's length distorts the face and rarely gives an even background. Ask someone to take the photo, or prop the phone up and use the timer.
My photo is the right size in KB but still rejected. Why?
Size in KB is only one rule. Check the width and height in pixels, the format, and whether the notification asks for a particular background or a name and date on the photo.